Flat, Not Clinical: Designing Step-Free Paving That Still Looks Like a Garden
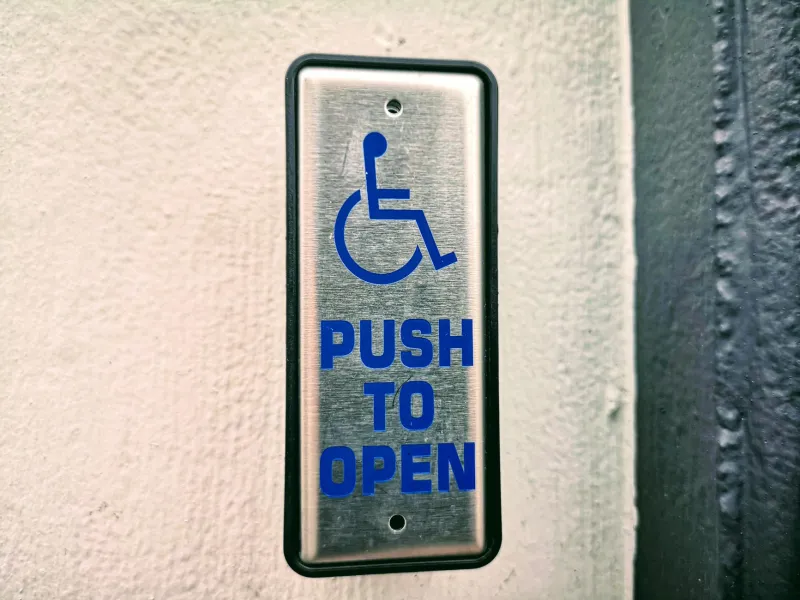
Step-free access has a reputation problem. Say the words out loud and most people picture a long grey ramp, a handrail, and a strip of yellow paint. That is a shame, because the best accessible paving we install is usually invisible. It just feels easy to use — for a wheelchair, a rollator, a pram, a delivery trolley, or a pair of knees that have seen better days.
The trick is to design the route as a piece of garden, not as a piece of compliance. Get the levels, falls and joints right and the paving will look like it was always meant to be there. Get them wrong and you can spend a fortune on a route that is technically there but practically useless.
Start at the threshold, not the patio
The door threshold is where most well-meant accessible routes fall apart. It is also the detail most likely to be left until the paving is already down. A level threshold is the goal: flush, or as close to flush as the door and damp-proof course will allow. In new-build guidance, the usual figure is no more than 15mm, and even that needs a chamfer rather than a sharp lip.
On an older house, you often cannot get a true level threshold without compromising the door or the DPC. That is fine. What you can do is make the transition as gentle as possible: a shallow chamfered sill, a small ramped section that does not block the door swing, and a landing outside the door that is genuinely flat for at least a metre. A ramp that tips you onto the patio at an angle is not a threshold — it is a launching pad.
Also check what is below the door. Air bricks, DPCs and drainage gullies all need to keep working. Paving should generally sit at least 150mm below the damp-proof course, and air bricks need clear ventilation. Raising the outside ground level to meet a stubborn threshold can create damp problems inside. It is worth solving the door detail properly rather than papering over it with paving.
The fall you need, and the fall you do not
Water has to go somewhere, so paving needs a fall away from the house. For an accessible route, that fall should be gentle — around 1:60 to 1:80 is comfortable. Steeper falls feel unnerving underfoot and can make a wheelchair or rollator want to run away from you.
Crossfall is the one people forget. A path can have a lovely gentle slope along its length and still be awkward if it tilts sideways towards a drain. Keep crossfall minimal, ideally no more than about 1:40, and flatter where you can. If the garden slopes, build in gentle terraces with flat landings rather than one long ramp. A landing every few metres gives you a place to pause, turn, or simply stop feeling like you are on a ski slope.
A useful rule of thumb for a garden path is a maximum longitudinal gradient of around 1:20 for comfort. Short sections can be steeper, but 1:12 is really the outer limit for a ramp, and it will feel steep. If your route needs more than that, change the route rather than forcing the gradient.
Joints, surfaces and the trip hazards nobody notices
A surface can look perfectly flat and still be hard work. Wide joints, proud edges, loose gravel and cobbles are all classic offenders. For wheels and unsteady feet, you want narrow, consistent joints, flush edges and a surface that does not move under load.
Block paving can work well if it is laid tight, well-compacted and properly settled. Resin-bound is smooth and firm underfoot, though it needs a competent base and should not be specified as a magic carpet. Porcelain and smooth flags are easy to clean, but check the slip rating and avoid anything polished. Textured concrete flags or sawn sandstone are sensible middle grounds. Gravel, loose aggregate and rounded cobbles are best kept off the main route.
Watch the details at the edges. A raised edging course might look neat, but it becomes a trip hazard if it crosses the route. Drainage channels should be flush, with slot widths that will not swallow a wheel or a walking stick. Manhole covers need to sit flush with the paving, not proud in the middle of the path. And if you are adding lighting, duct the cables before the sub-base goes down — retro-fitting lights through a new patio is a special kind of misery.
Making it look like a garden, not a corridor
Accessible routes do not need to be straight, grey and 1.2 metres wide for their entire length. A comfortable width is around 1.2 metres, with 1.5 metres at the door and at turning points if you can manage it. But within that, you can curve the path, change the paving orientation, and use planting to soften the edges.
Keep plants that overhang the route cut back. A lavender hedge that flops across a path is lovely in June and a nuisance in November. Use lighting that marks the edge without becoming an obstacle — bollards and wall lights rather than loose uplighters. If a handrail is needed, choose one that suits the house rather than a galvanised tube from a car park. And do not forget a bench or a wide landing halfway. A route that offers a place to rest is a route that gets used.
The mistakes worth avoiding
The most common failures are small and predictable. A ramp that ends in a lip at the driveway. A drainage channel placed exactly where you need to cross. A threshold bar added after the paving is finished. A path that is wide enough on plan but narrowed by a shrub. A crossfall that sends you towards the wall. And the classic: a route that has never been tested with an actual wheelchair, pram or rollator.
Before the pointing goes in, ask for levels to be checked with a straight edge and a spirit level. Walk the route. Push a wheelbarrow along it. If you know someone who uses a wheelchair or a rollator, ask them to try it. It is much easier to adjust a joint or lift a cover before the mortar sets.
Step-free paving is not a specialist add-on. It is just good paving with the levels thought through. Done well, nobody notices the gradient or the flush threshold. They just notice that the garden is easy to get into — which is exactly the point.